
You can upgrade the storage in your Raspberry Pi 4 with an NVMe drive. These drives usually plug into a PCIe lane which gives them a potential throughput of over 3000Mbps for read and write access.
Yes I can hear you shouting already from Hacker News, Twitter and Reddit, so before we get into the tutorial, let's start off with a disclaimer:
The Raspberry Pi 4 itself will not be able to achieve its full potential with the NVMe drive, but it will have two advantages over your SD card — reliability and sheer speed. Buying an NVMe and its associated adapter isn't much more expensive than a SATA SSD, but is quicker and more useful if you need to repurpose it later on. The the CM4 also has a PCIe lane, meaning you can connect an NVMe to it.
We will also cover UAS and TRIM support in the addendum.
If you have an external USB SSD or SATA M2 drive you can also follow this tutorial.
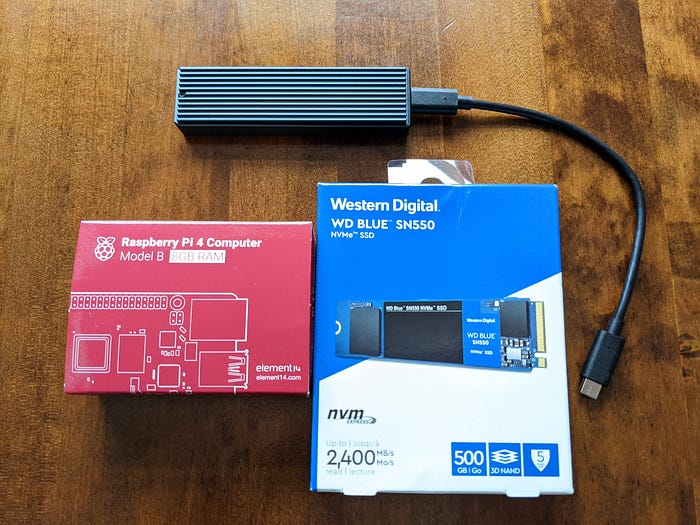
Parts list:
- Raspberry Pi 4–in my case I'm using a model with 8GB RAM
- Official power supply
- SD card — 16-32GB should do
- SD card writer
- USB NVMe adapter — make sure that you get a USB3 model, otherwise you will be constrained to slower speeds
- NVMe drive — with one notch. A SATA M.2 SSD drive by contrast looks almost identical, but has two notches instead of one and can achieve a slower maximum speed.
Whilst the Raspberry Pi cannot achieve full speed, a SATA SSD will perform to the tune of hundreds of MB/s instead of the thousands that can be achieved with an NVMe.
Carefully insert your NVMe drive into the caddy, and connect it to your PC to see if it shows up as expected.
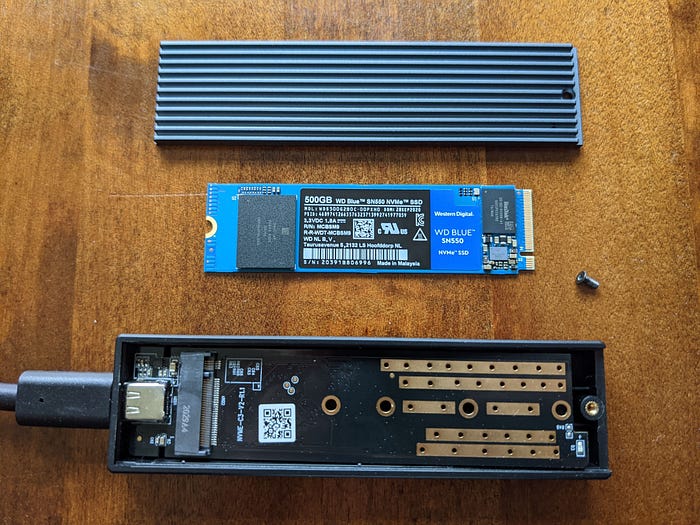
The Samsung EVO 970 Plus is faster than the WD blue drive, but also worked out about 40–50 GBP more expensive. Since our RPi's USB3 bus will limit the speeds, we don't need to go too crazy on our spend.
Prepare the Raspberry Pi OS
Download 32-bit RaspiOS
This tutorial "should also work"(tm) for Ubuntu 20.04, but if you run into issues try this tutorial I found on Google.
Flash the OS to an SD card, create a boot.txt file in the first partition and then plug in your RPi and boot it up.
ssh pi@raspberrypi.localUpdate your OS:
sudo apt update -qy \
 && sudo apt upgrade -qy
Use the following to check your bootloader version:
sudo vcgencmd bootloader_version
Sep  3 2020 13:11:43
version c305221a6d7e532693cc7ff57fddfc8649def167 (release)
timestamp 1599135103
Go to Advanced Options -> Boot Order -> USB Boot.
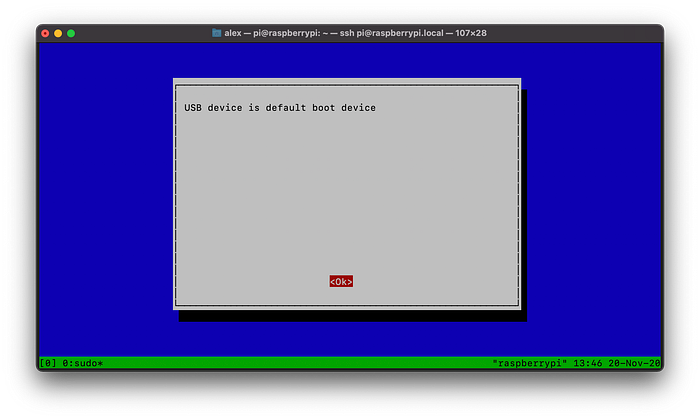
You will see the follow text. This sets the order to start with the SD card, and then to try a USB device if booting fails.
Whilst there, why not go to Performance Options -> GPU Memory and change it from 64MB to 16MB. This gives you a little more RAM back, if you don't use the RPi to run a graphical desktop.
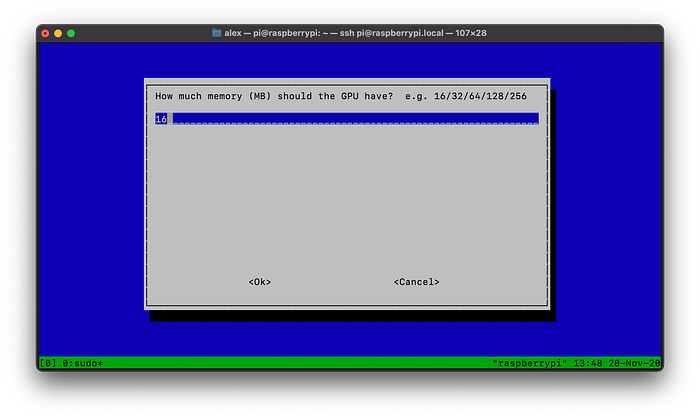
Now shutdown your Raspberry Pi.
On the machine you used to flash the SD card, or on another Raspberry Pi attach the NVMe over USB and the SD card via the SD card writer. I use a dedicated Intel NUC for this purpose with Linux installed.
Run lsblk, you should see your drive appear:
alex@nuc7:~$ lsblk
NAME                MAJ:MIN RM   SIZE RO TYPE MOUNTPOINT
sdb                   8:16   1  29.7G  0 disk
├─sdb1                8:17   1   256M  0 part
└─sdb2                8:18   1  29.5G  0 part
sdc                   8:32   0 465.8G  0 disk
├─sdc1                8:33   0   256M  0 part
└─sdc2                8:34   0  29.5G  0 part
Now mirror the SD card to the NVMe, but be really careful with the device names. You don't want to overwrite your OS on the machine you're using to do the mirroring operation.
sudo -i
root@nuc7:~# time dd if=/dev/sdb of=/dev/sdc bs=1M
An alternative is to plug the NVMe into the computer you used to flash the SD card, and flash it after finding its device with
lsblk.
Testing out our new storage
Take out the SD card and power up without the SD card and try to connect:
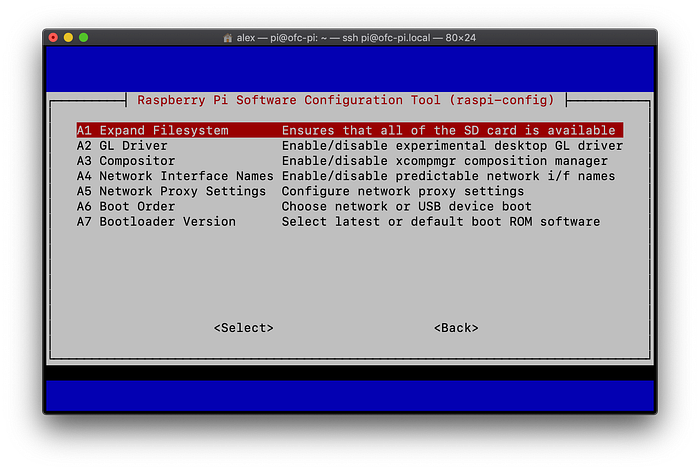
ssh pi@raspberrypi.localYou will want to resize the disk to fill the full capacity. Use raspi-config and go to "Expand filesystem" then reboot.
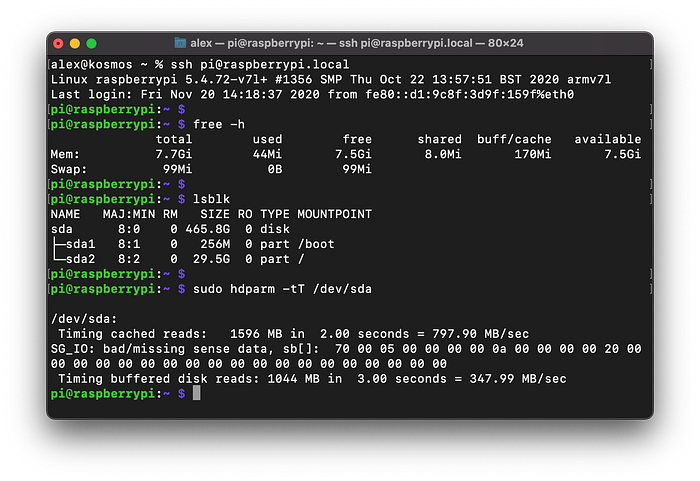
Install hdparm to test the performance of the disk:
sudo apt install -qy hdparmTest out the speed of cached reads:
Try writing out a 500MB file from memory:
pi@raspberrypi:~ $ dd if=/dev/zero of=test bs=1048576 count=500
500+0 records in
500+0 records out
524288000 bytes (524 MB, 500 MiB) copied, 2.63385 s, 199 MB/s
pi@raspberrypi:~ $
Now when you compare this to a Samsung EVO 970 Plus in my Hex-core Intel NUC, the difference is night and day.
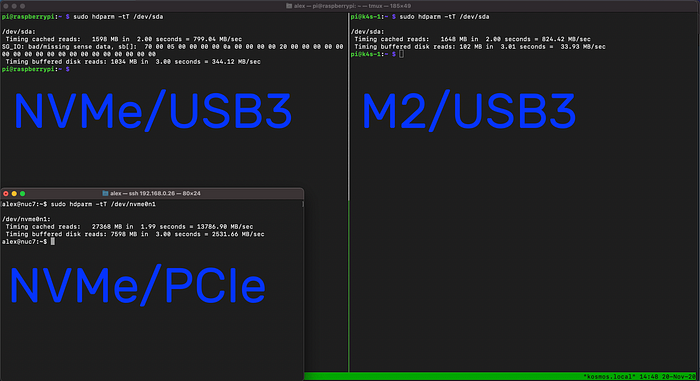
When you look at the buffered disk reads, clearly the RPi's USB3 port is holding back the drive:
- M2 SATA SSD with USB3–33.94MB/sec (UAS capable)
- NVMe with USB3–344MB/sec (UAS capable)
- NVMe in a PC over PCIe–2531MB/sec
Interestingly, the SD card gave a seemingly better buffered disk read than the M2 SATA SSD at 43.35 MB/sec.
Fear not, when the CM4 becomes widely available with nice dev boards, it has a single PCIe channel it so could attach the NVMe natively.
Here Dominic Plunkett and Eben Upton discuss the CM4 and the various I/O options.
https://www.youtube.com/watch?v=yiHgmNBOzkc
Addendum — 29th Nov 2020
What about UASP you say? UASP stands for USB Attached SCSI and according to StarTech can enable better throughput over USB and decrease CPU usage. It just happens to be enabled on the hard-drive and enclosure combination I've picked out for you in the bill of materials.
If you already have a drive connected, try lsusb -t to see whether it's enabled under the driver line.
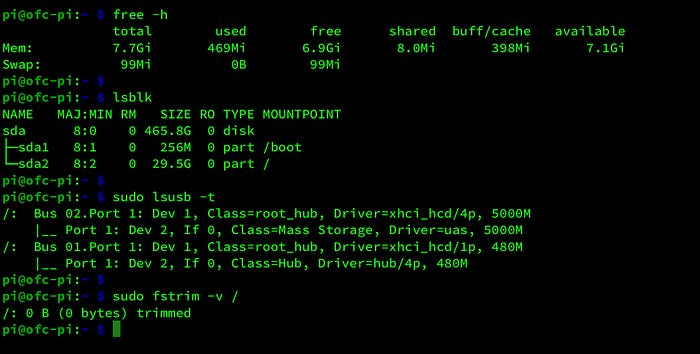
And what about TRIM support? As you can see from above, the drive and the enclosure picked both support TRIM on a Raspberry Pi 4 under Raspberry Pi OS. For an external drive, you sometimes have to enable TRIM explicitly by setting the provisioningmode. The Arch Linux wiki has an excellent article on how to do this under "Solid state drives".
So you have the best of both worlds: UAS, TRIM and the extra potential of NVMe for random 4k reads and sustained throughput.
Wrapping up
It's now over to you to enjoy your new more reliable and speedier storage.
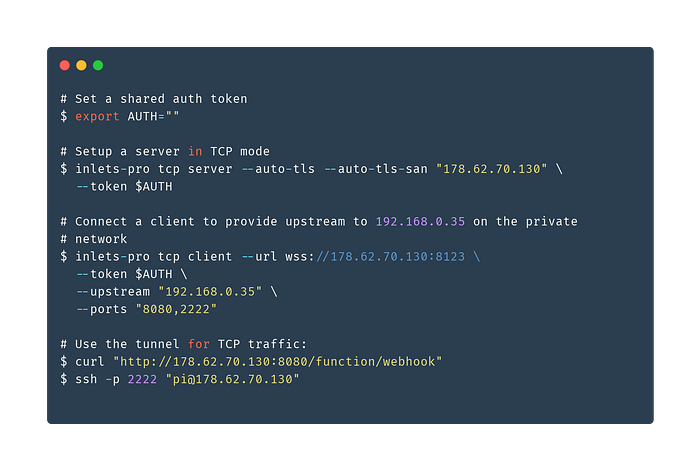
Are you thinking of putting your Raspberry Pi on the Internet, or wanting a way to access it remotely? Get remote access over HTTPS and SSH with inlets
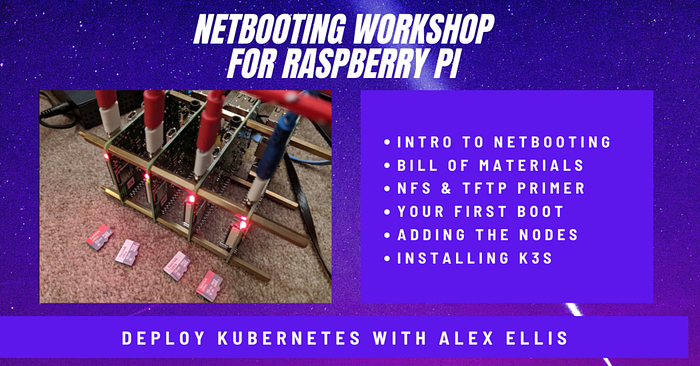
What if buying NVMe storage is too expensive for your cluster?
You can netboot your Rasbperry Pi cluster with my step-by-step guide for RPi3 and RPi4.
You'll find a bill of materials, and instructions that work with Kubernetes too.
You may also like
Build a Kubernetes cluster with a single node, or multiple hosts. Learn to manage containers and monitor your systems.